Showing posts with label stencils. Show all posts

Tuesday, March 19, 2019

Gel Print Class

On Thursday I taught a Gelatin Monoprinting class, for several ladies from my Fyber Café art group. I hauled in a whole lot of supplies, stencils, masks, found objects, feathers, twine, potato mashers, combs, as well as paint, fabric and paper. Most of us wanted to print on fabric, but we did do some paper too. Fabric takes a little bit thicker application of paint, to adjust for the weave showing through. We played and played all day. Spring was three weeks late for us, as we had a late snowfall at the end of February, so there was very little greenery to pick. Ferns and heavenly bamboo are green all year around here, I had put some ginkgo leaves in the freezer last fall and they worked great. A friend gave me a hand full of peacock feathers, what fun! One lady got fixated on a spirograph type stencil, another with the turkey feathers. Each had a favorite style, and I encouraged them to make coordinating prints, in different colorways, so they can collage an art quilt from them. The photos are a few from each lady, but I am sure I've got the identities mixed up on some prints. Crystal had a variety of stencils, and the last print is on an "ugly" hand dyed fabric. Lorraine loved the feathers, and she made a few prints with an opaque yellow on black. Meredith used a lot of botanicals, a tangle of eyelash yarn, and stencils. Stephanie's spirographs in many bright colors, she made many more. Tracy used feathers and a favorite stencil. The last print is the stencil and it's ghost print on the same page, isn't it fabulous! I made some prints to use as the demonstration, but I did not get any pics, I'm sure some of them will show up in a future project. I will be linking this to Nina Marie's "Off the Wall Friday" click here to see what other fantastic textile artists are doing this week.

Wednesday, April 19, 2017

My Round Robin Tote Bag

My Round Robin tote bag was finally returned to me with all four sides done. Clare made card woven handles for me, and the people in her rotation. In return, I made the fabric sides for her, when it was her turn to work on the bags. She used Sugar & Spice cotton yarn to match the bag in blues, turquoise and rust, with a real pretty weaving pattern.
On one end of the weaving I did a twisted fringe, it sways when you move. The thickness of the weaving was hard to stitch on to the bag, it stitched ok, just hard to get under the pressure foot. Vi made this side with diagonal strips, and added beading on the dyed cheesecloth. She said she left the other strips clear so I could stencil the leafy stems to match the rest of the bag. Unfortunately it had batting behind it, and was so bouncy when I painted, I made a mess. I had to repaint the edges with a paint brush, the free motion stitching hid most of the ragged edges. I did not paint the last two areas, which were very plain, so I added some more dyed cheesecloth and some green leaf glass beads.
Cheryl needle felted an end piece for me. With dark wool rocks at the bottom, and green fronds reaching up, and a wool butterfly at the top. I added some rayon embroidery thread leaves and some glass beads at each frond tip. Crystal amber beads blend so well with the orange flowers, that you can hardly see them, but they add sparkle. I added one of my thread painted butterflies at the top, and did some free motion quilting to the background areas.
Meredith added the last end piece, with bushy dyed green cheesecloth, and an agave spikey plant made with different blue shear fabrics. I added LOTS of glass leaf beads in several different styles. I'd like to add something in the middle section, but I'll think about it. She sewed on several different layers of teal and silver lame, and a sparkly blue cotton at the top. I had just bought some tiny gold glass stars at Bead Mecca in Canyonville, and stitched them at the top on the blue cotton.
Last but not least, I added the lining, I had a big chunk of a bright turquoise with tropical leaves on it. Unfortunately it was a poly/cotton blend which is probably why it is still on my shelf. But it is heavier so it will stand up to hard wear. I added an inside pocket and did detailed free motion quilting, and added Velcro closure. I did a quick large stipple to the rest of the lining. Oops, I did not get a good view of the whole bag, but the detail photos are better, as you could only see one side at a time anyway. I will link this to Nina-Marie's "Off the Wall Friday" click here to see what other talented textile artist are doing this week.

Tuesday, April 11, 2017

Icarus

I finished working on "Icarus" in plenty of time for the deadline. I free motion quilted the feathers, that I had stenciled, I went slow and easy to get as much control and detail as I could. I used a gray rayon thread, it was rather dark, but worked out ok. I had planned on a lighter gray more silvery color, but I did not think there was enough thread on the spool. I did not follow the style feather in Quilting Arts magazine, as I had the stencils to guide me. It went quickly, even though I was stitching slow, all the feathers were done in an hour and the background a half hour.
The background quilting is not as dense as the feathers. Wavy lines and spirals gave a very free airy movement feel to it. The background puffs out a bit and the feathers recede and look flat, a very different look.
Since the long strip was just a leftover, probably the end of the bolt that was too narrow for me to use as a nine inch strip, it was very raggedy. It was difficult to trim square, I kept cutting a little more, and a little more, it finally finished at 7.5" wide and the whole 42" long. I had a similar ice dyed fat quarter that I cut for the binding.
A yellow hand dyed fabric with a little rust color was used for the 8" diameter base of the sun, and all the 3-D embellishments are from a very pale smooth yellow. I began with small prairie points, just a bit difficult to make turn a circle, then covered the edges with ruching. The hand dyed fabric was a very high quality, that we used a bolt of for several dye sessions. However it was such a tight weave it was hard to hand stitch through. It took me several sessions of stitching, as I had to take breaks for my hands to uncramp. I had cut a slash in the center to turn the sun/batting and backing right side out, so I covered it with a large yoyo and a bright yellow center button.
I hand beaded the strands of beads to attach the sun to the feathers. Glass, crystals, squares, and free form yellow beads made a nice heavy strands, no seed beads or bugle beads, I wanted something more substantial. The middle of the center strand has a hand made lampwork bead, that my friend Meredith made for me one Christmas. I treasure the little bag of beads she gave me. I was going to use a blue one at the bottom, but I stitched too fast and forgot it. Getting it to hang even, with even strands on each side was a bit tricky.
I had thought about adding feather clusters hanging from the bottom, but then decided not too. That did NOT stop me from going to Joann's and Michaels's and purchasing extra blue beads. I wanted to match the types of beads I used at the top. I figured I spent $20 even at half off, to make 8" of beaded strands. oh well, more beads for the stash. I also wanted to match the stenciled feathers and got a $2 bag of white feathers, probably chicken. As you can see from the photo I did add the feathers to the bottom. Where I had an existing white plastic hook on the wall, it now puts the feathers into kittie range, I am waiting for her to discover them.
As you can see, it is VERY long, probably 60 inches. They always ask for rules when we make a challenge. Our guide lines for the challenge are about 20" on a side. But I tell every one, we are artists, we break the rules, so what ever works for you. I have the perfect little piece of wall to display it, but I am not using the white plastic hooks, they stick out too far from the wall and it does not hang smoothly. See the previous post to see the stencil work on the hand dyed fabric. The Umpqua Valley Quilters' Guild show is the following weekend at the Douglas County Fairgrounds, on Interstate 5. I finished with a week to spare! Our Fyber Café art group, will have our own display area. We will display the round robin tote bags, the "Flights of Fancy" challenge art, and extra pieces of art the members have made. If you are in Southern Oregon from Ashland to Corvalis, and over on the coast, please come and see our show, they registered over 300 quilts for display. This does not count special exhibits or vendors displays. I will link this to Nina-Marie's "Off the Wall Friday" click here to see what other talented textile artists are doing this week.

Tuesday, April 4, 2017

I'm an Addict

Yes, I Amy, am a stencil addict. I admit that anytime I see a new stencil, I have to have it. I've even been known to buy a duplicate stencil, cause I did not know I had it already. I've made a list, to help me remember, but I don't take the list with me. And since I am an addict, I have to buy it immediately.
So when I wanted a feather stencil, I knew I had one in several different sizes. I did not expect to come up with eight of them. Although several are large decorative feathers, kinda fancy, and I wanted realistic. I also had a stencil from The Crafters Workshop, designed by Jennie Bowlin, and a Jennie Bowlin Studios stencil, that are exactly the same. I feel ripped off, since I knew it was a different company, I knew I did not have that stencil. I even bought the Brother Scan N Cut machine mainly because I could design and cut my own stencils with it. And I do, and I love it. One of the stencils was adhesive, I'm not sure about it. I had to pick out all the little cutout bits and they stuck to everything. I pealed the release plastic sheet only half way off to use one stencil, but had to remove it completely to get to the center one. Then it stuck where I had just painted. The stencil stuck to stuff I did NOT want it stuck to, and was hard to peel off the fabric when finished, I was afraid I would tear the stencil. Then getting the plastic film back on when done was a struggle too. I never have trouble with stencils moving while I use them, I pin to a foam core board if I need to, or use basting spray to lightly coat the back of the plastic with spray adhesive. I will NOT be buying any more adhesive ones.
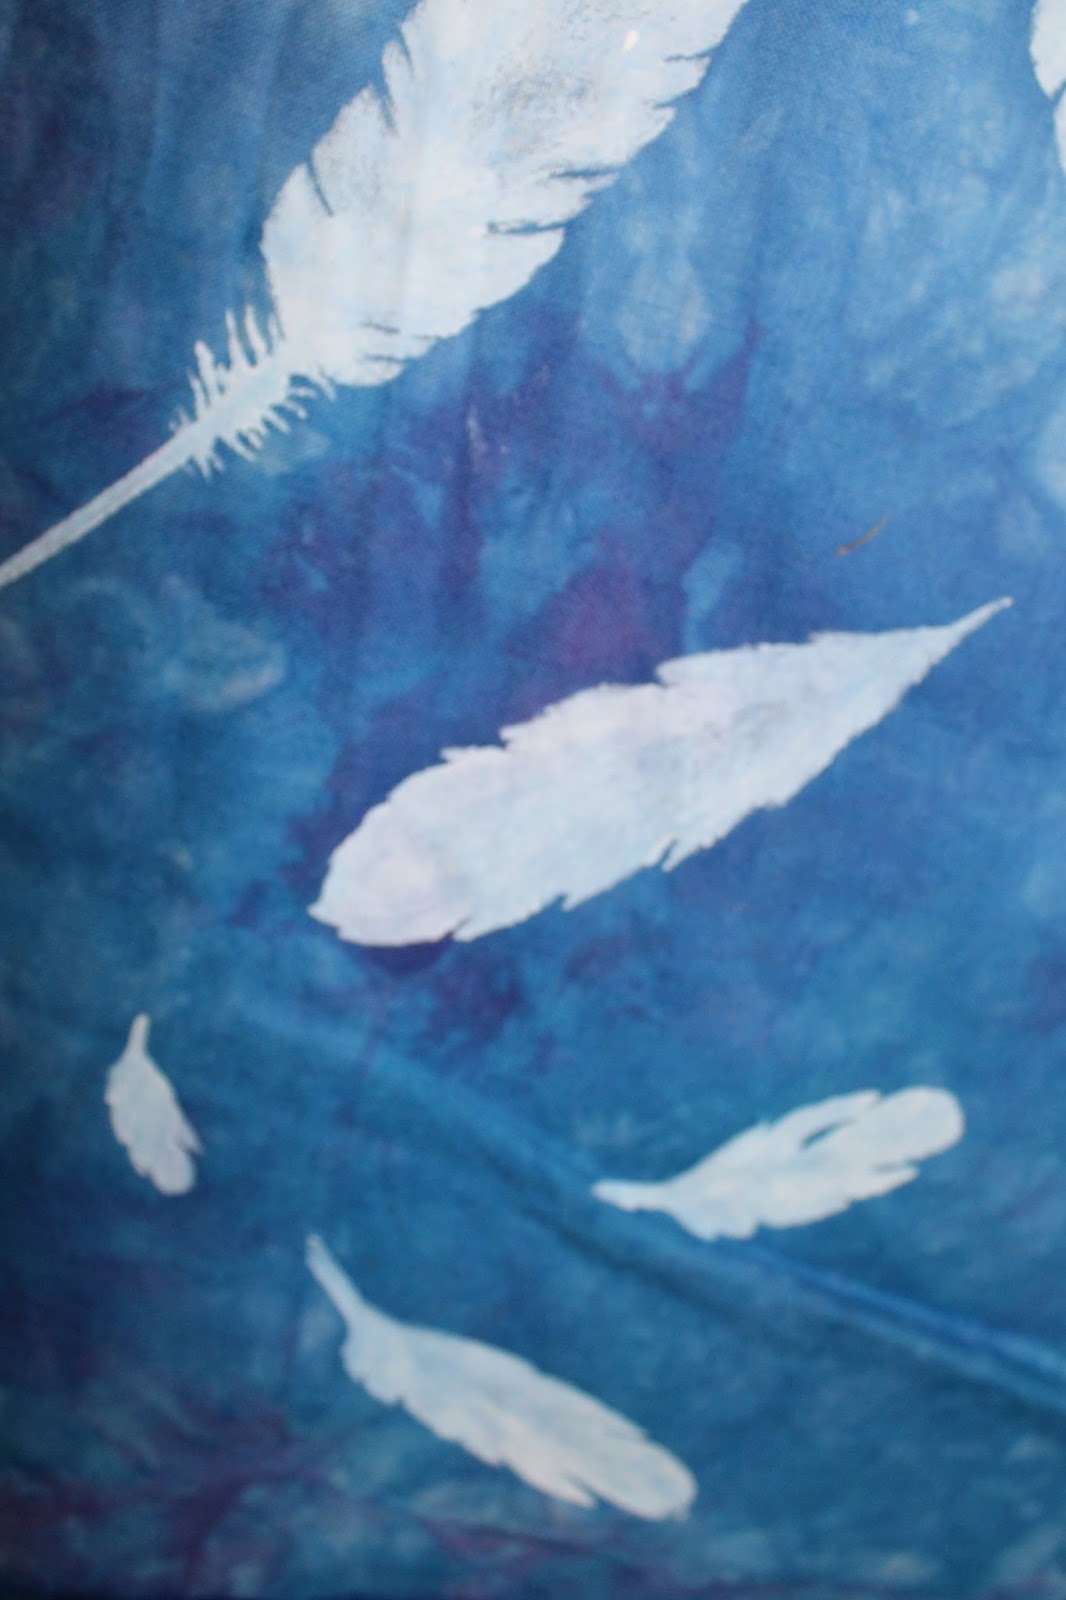
I found two pieces of hand dyed blue fabric, the fat quarter, I was going to use for my project, and the narrow strip for practice machine stitching. But as I started to stencil, I thought why not just use the strip for my project. I started with the smallest feather, about an inch long, and added medium, then larger sizes. I painted one feather from each stencil, except for some of the larger, fancier ones.
On the smallest stencils, the vein lines are very fine and hard to see, with the medium and large, they were more varied and distinct.
I used a Liquitex Acrylic white craft paint, it was fairly opaque, and I wanted it to look soft, not stark white. I used a stiff brush and used it dry with very little paint. You have to paint from the tip to the stem, so all the little bits of plastic don't get bent out of shape, and this helped keep the brush strokes staying in a consistent direction. This fabric is for my Fyber Café challenge, the Theme is "Flights of Fancy." I am going to hang it vertically with the smallest feather at the top, and getting larger as they fall down. It is based on the old myth of Icarus making a set of wings, and gluing feathers on with wax, as he tried to fly to the sun, the wax melted, the feathers came off, and he fell to earth. I will make a round sun, with hand dyed fabrics and put it at the top of the hanging. I don't know how I want to embellish the sun yet, I am thinking Angelina fibers, or prairie points. The bottom feather has a curved tip as it hits the bottom of the wall hanging. In the newest issue of Quilting Arts magazine, they have an article on free motion stitching feathers. I am going to do that, but have the light white stencil behind my stitching, that will give me additional guide lines, and make the feathers stand out more, since they are the focus of the art. Now to do some quilting, cause the deadline is FAST approaching. I am linking this to Nina-Marie's "Off the Wall Friday" click here check to see what other talented textile artist did this week.

Friday, January 8, 2016

Ink on Acrylic

After two work outs with the ink dauber, it showed some signs of wear, so I went and bought two bags of makeup sponges. The left had some fun shapes that might be good for printing as is, stars, circles, etc. The right hand bag was mostly circles of different thicknesses. And what is with the golf ball size purple raindrop???
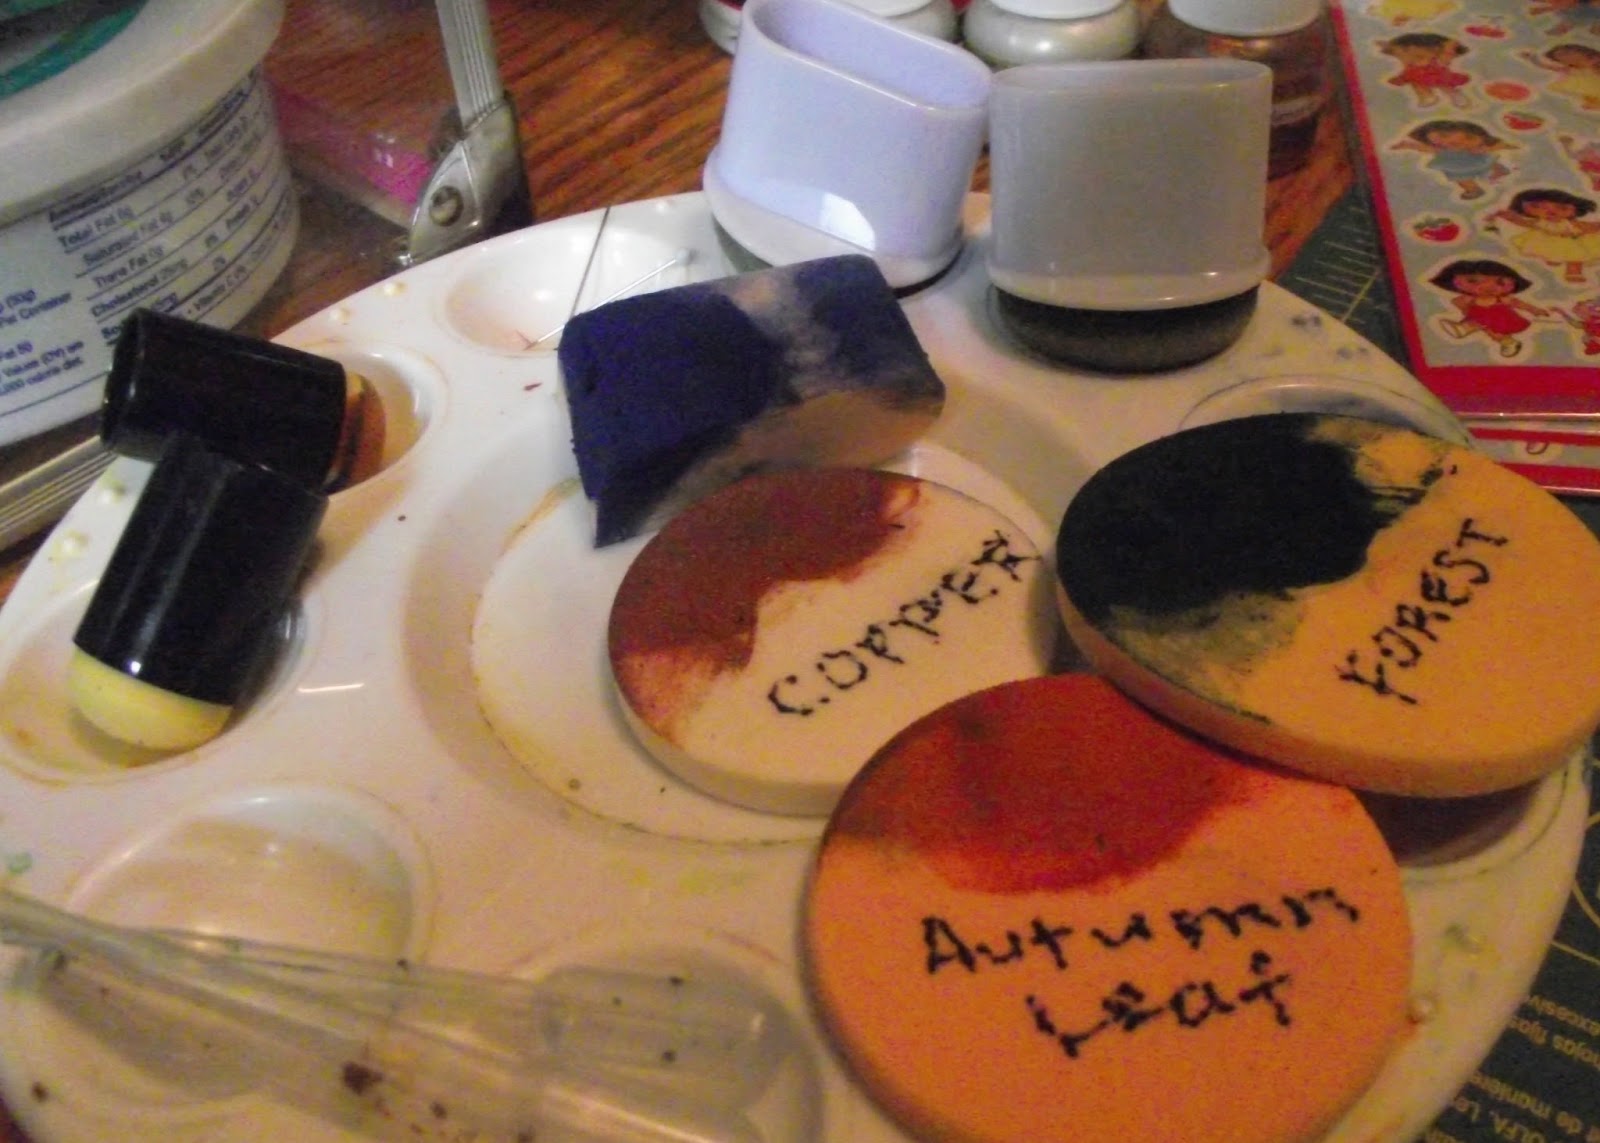
The daubers are at the top of the photo, still have much more use and they were only $1 each. But I used the sponges with shaving cream and then the ink, they seamed to suck up a lot of ink. But they kept printing softer and softer images, great for layering and depth. I labeled them so I can use them again. The sponge texture is very smooth, but they seamed to wear a bit and get pills, little grains of sponge, that I just brushed away. For $1.20 or $1.50 a bag, they are cheap and disposable. I do like the daubers better though.
Since many of my stencils are just great texture, I decided to try adding layers to some gelatin monoprints. When I make prints I usually do 2-3 prints/colors and then add more layers with foam stamps, alphabets, stencils, and other details. So I got some of my gelatin prints that needed work, and tried to add the Tsukineko inks to them. This blah purple print had some masked dragonflies that did not print very well, so I added a stenciled dragonfly on top with blue and copper ink. Not so good, trying to print dark on dark. Next.
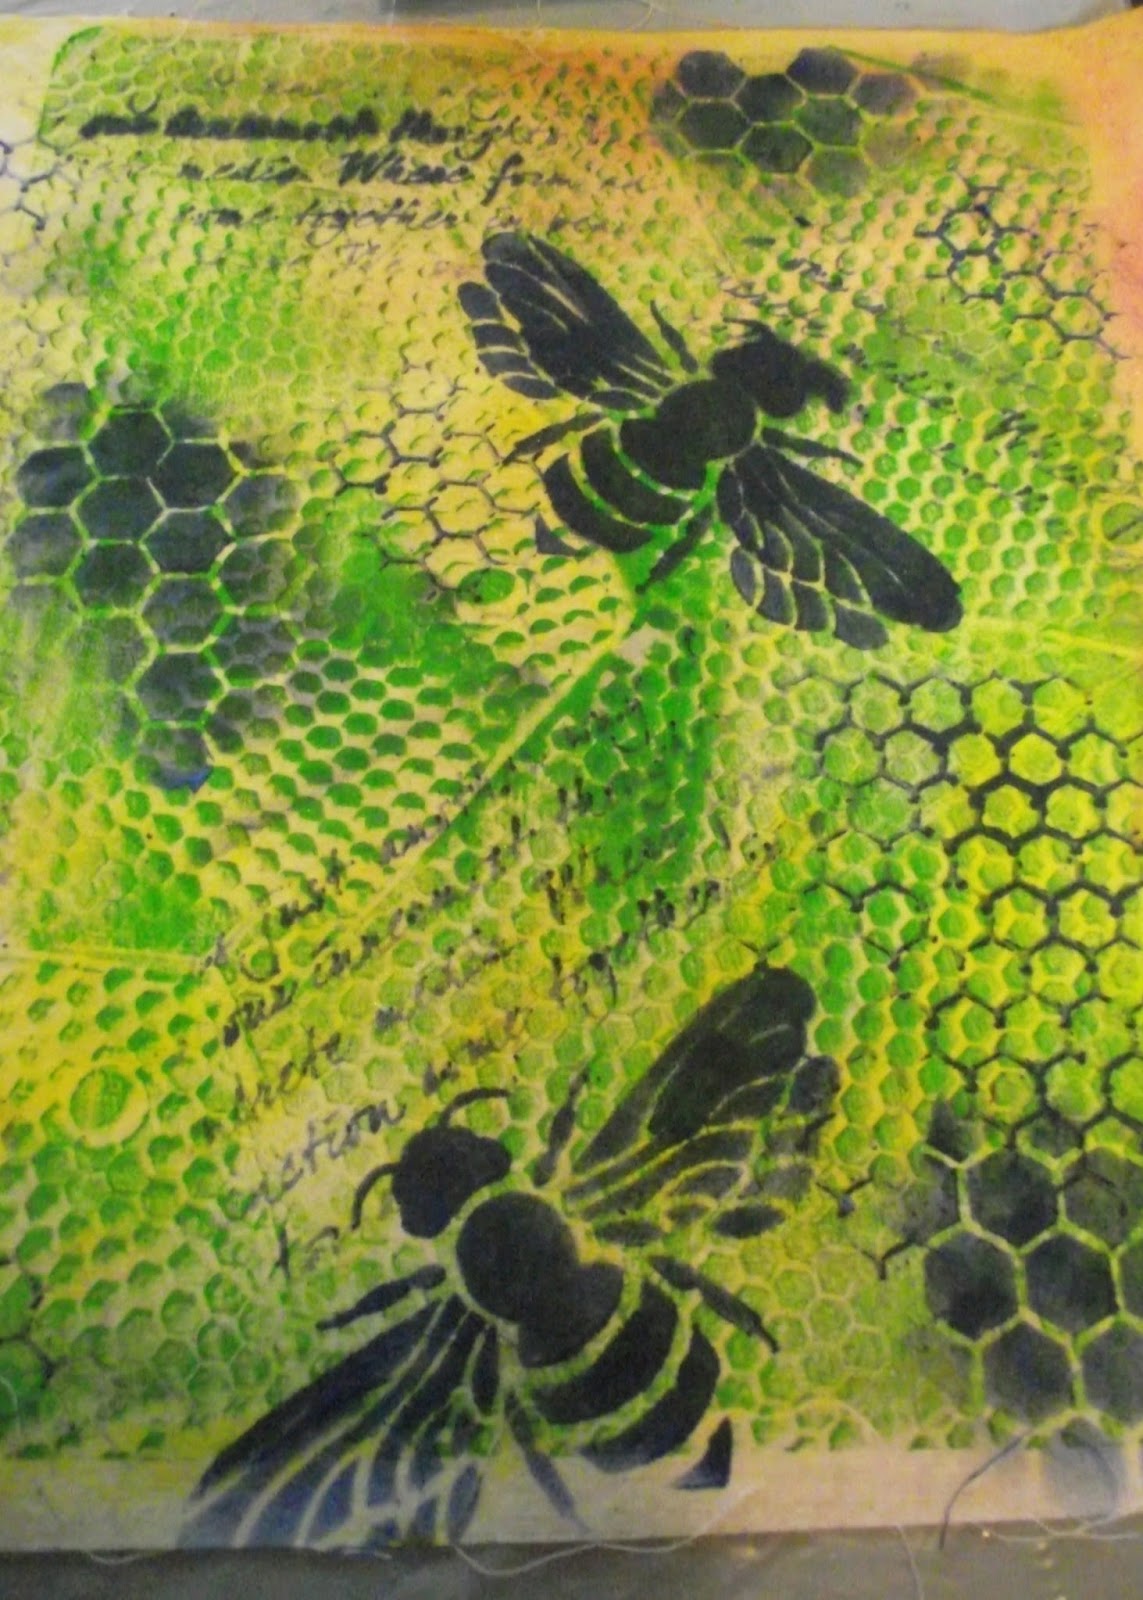
I started with a lighter print. A green hexagon texture design on a pale yellow fabric. I had used a silicon potholder to print with, I really like the background this made.
For contrast I kept with the darker Ultramarine Blue ink, and started with the writing stencil just for some background texture. I realized I did not need more background it was busy enough as is. I have many hexagon stencils in various sizes, but most are negative images, where you paint in the background color, but one is a line stencil of chicken wire in a perfect hexagon pattern. Then I added the large hexagon "holes" in blue and two images of the bee.
I like the way this turned out with just two layers, the original green acrylic and the blue ink.
Working on this teal print on muslin, I realized the reason the dragonflies did not work, was not because it was dark on dark, but because it was ink on acrylic. The acrylic acts as a resist to the ink. The ink works better when it can absorb into the cotton. The ink is too transparent, that works fine on hand dyed fabrics but on printed acrylic paints, not so good. So I think I will work on layering these gelatin monoprints with stencils and acrylic paints like I was doing before.

Sunday, January 3, 2016

Inked Stencils

My friend could not come over this morning, she has a bit of snow and ice at her house. So since I already had my supplies out, I spent the morning doing more stencils. A practice piece on muslin, with the trilobite stencil, I am getting the hang of it.
I got out my box of hand dyed fabric and found just the right dark blue/gray. Inking the trilobytes onto the blue, looks like real fossils in the slate stone they are found in.
I am getting nice clear crisp images. I made a piece for myself and a piece for my quilting friend who took geology classes with me in college.
I really like ammonites, they are often fossilized in a shiny metallic rock. So I used the metallic copper ink, it went on really well, but needed an extra swipe to get good coverage with the metallic shine.
I had to be careful of which direction I swiped this stencil as it has some loose ends that could get caught on the dauber, but mostly it was OK.
Next I used a cheaper yellow plastic stencil of leaves. My bright yellow hand dyed fabric was just right. I used "Autumn Leaf" ink. The yellow plastic was nice and sturdy, as I swiped the dauber, none of the loose pieces pulled up. I started to do some faded shadows and partial images to fill up the space more and add depth.
I had trouble with the fern stencil. It had lots of loose pieces which kept getting caught on the dauber, making blurry images. I had also washed the dauber, I thought I had dried it enough, but the moisture made the ink bleed. For the larger open spaces I had to keep reapplying the ink, which made a blotchy image too. The stencil also had a good and bad side, the bad side had rough edges that caught at the dauber making it hard to swipe, so pay attention to that when using stencils. But I wanted the ferns mirror images, so I flipped it frequently anyway.
This piece of hand dyed has a dark splotch in the center with two lighter areas around it. It was perfect for the willow leaves. I flipped it for the mirror image and added extra length at each side. Now to find something to put inside the frame. I have several bird stencils and found one the right size to use. I used the small dauber, less than 1/2" round, to do the delicate leaves and the small bird parts, it worked well to get the small bits, but it did not hold much ink, and I had to keep re-inking.
The grass stencil was an inexpensive one from our trip up to the new Hobby Lobby. The shiny blue plastic was very slick and the dauber went over it smoothly. It was also easy to clean with a tissue. I made ghost images, of faded stalks of grass in the background, and also extra parts in the foreground. I really like how this turned out.
The spider web is a Jim Holtz stencil and I was leery of the delicacy, it was also a negative image, so I used a blue for a background on white fabric. I think it came out good, I had to keep re-inking but I got good coverage. It was also nice, because it had NO loose ends, it swiped cleanly.
The ginkgo leaves had large open areas and very tiny, thin loose bits. I definitely had to be careful which direction I swiped it, the dauber was still a bit damp, so I got some dark blurry areas. It got better, the more leaves I made. I decided to go over the darker ones with an ink called "Champagne" I thought it was a pale gold metallic, but it was more of a light gold shimmer. It lightened the dark leaves and added a nice highlight. So I spent my morning playing with my inks and hand dyes. I have lots of new stencils I haven't tried yet, a nice delicate dragonfly, a wood grain, and sea shells, and fish skeletons. I could play like this a long time. I also want to try shading two colors on the same stencil, blending the colors. I have so many stencils now, that I need to make a list so I don't buy a duplicate. I also need to try the ink with my own hand cut botanical stencils. Stay tuned to see what I come up with next. Also check the previous post. Comments would be appreciated.

I am linking this with Nina-Marie's "Off the Wall Friday" click here see what other wonderful textile artists have been doing this week.